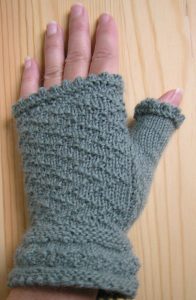
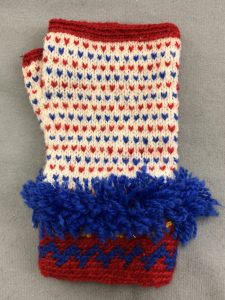
Exploring Fringes: from the Baltic and Finland

Estonian Roosimine Glove: tiny fringe

Latvian glove: long two-color fringe

Korsnäs-inspired mitt: sewn fringe

Estonian Mittens: inside fringe

Fringe from the Baltic and Beyond

I have had a lot of fun pouring over books, trying to decipher illustrations, some with Estonian directions which I can’t read, to understand how fringes are made.  There are many more methods than I first thought, some are very finicky to make, and others are made to be quite stable, “locked in” as it were.  I recently finished my handout of these techniques as I will be teaching this class as well as three others (The Norwegian Purl, Traditional Gansey Techniques, and Estonian Roosimine) at Stitches SoCal in Pasadena, CA from November 10-13, 2022.

This is a cast-on that creates a fringe. (From Nancy Bush’s book, Folk Knitting in Estonia</p>

Hold yarns as for Long Tail CO.

Insert right ndl into loop on thumb.

Scoop both sides of loop on index finger.

Bring double sts through thumb loop, then pull thumb yarn to tension.

Again, resume the position of LTCO, enter loop on thumb, and scoop the two sides of the loop on index finger.

Bring the 2 loops of the fringe through the thumb loop, then tension the thumb yarn while holding onto the base of the index finger yarn (the fringe).

To have 2-color fringe, start with a slip knot of 2 colors and go through the steps above.

Tips

Be careful as you extract your index finger from the loop (fringe), so you don’t pull it too long.  Try to keep the fringes consistent in length.  This takes practice.  When pulling the thumb yarn to tension the yarns down, hold onto the base of the fringe (see photo 4) so it is not pulled.

In the following row, treat the double stitches as one to return to the original number of stitches.